As landscape photographers, our eyes are drawn naturally to the 'big picture', and, understandably, we are seduced by impressive, sweeping vistas, dramatic, rugged coastlines and the tranquility of lochs, lakes and large bodies of reflective water. However, our eyes are so accustomed and trained to look forward in search of the perfect view, that it is easy to forget to look down, and closely, at what lies beneath our feet. If you are guilty of this, it is time to change the way you view the world. Kneel or crouch down and take a closer look. At first glance, picture taking opportunities might not be obvious, but look again, more closely, and a fascinating and photogenic 'miniature landscape' will be revealed.
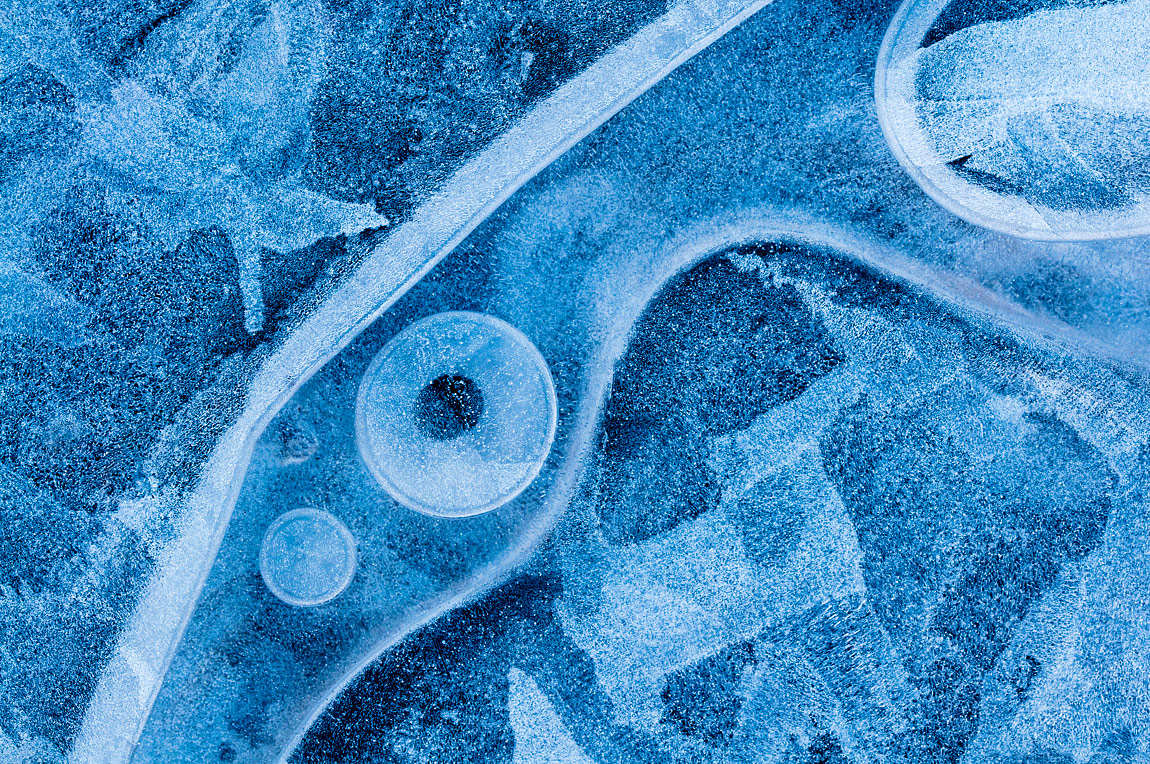
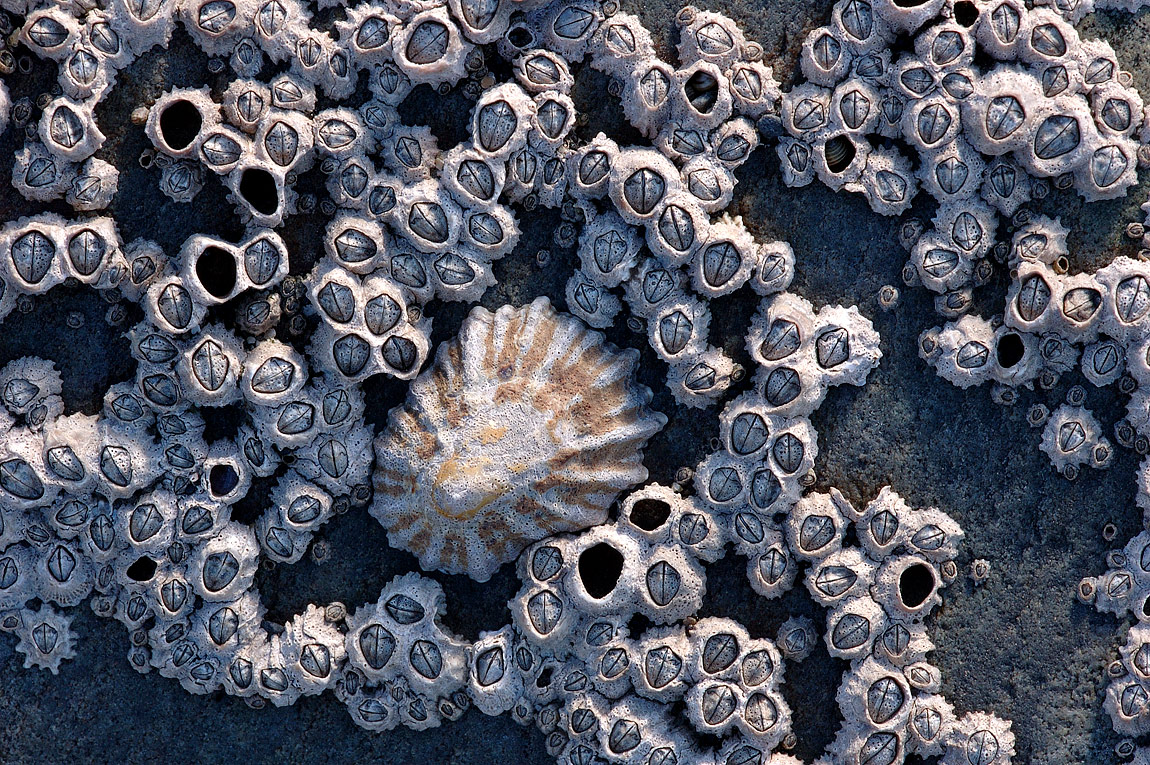
In close-up, interesting and beautiful natural detail and texture can be isolated and highlighted. Subjects you might not consider photographing normally, such as lichen encrusted boulders and seaweed clad rocky outcrops, suddenly hold fresh appeal. The intricate design and beauty of wild plants and flowers, fungi, geology and insects only truly can be enjoyed and appreciated in frame filling close-up. Viewing the world up close gives you a completely fresh perspective on things.
What Equipment Do I Need?
Often, close-up photography is regarded as a specialist area, requiring dedicated, pricey kit. To an extent, this is true, as nothing can rival the convenience, ease and quality of using a macro lens; a lens with highly corrected optics, designed specifically for close focusing. However, there are a number of close-up attachments available that offer a good, inexpensive introduction to shooting close-ups. Therefore, whatever your budget, great close-ups are well within your grasp. In addition, many modern tele and standard zoom lenses boast an impressive and useful reproduction ratio of up to 1:4 (quarter life-size). This is more than adequate for images of texture and detail, plants and geology; it is only if you wish to photograph smaller subjects, such as insects, that you will find their close focusing abilities a little restrictive.
A true macro lens is one offering a maximum reproduction ratio of 1:1 life-size (1x) or greater. Close-up photographers often refer to reproduction ratio; this is the size of the subject in relationship to the size it appears on the sensor or film. For example, if an object 30mm long appears 15mm wide on the sensor/film, the reproduction is 1:2 half life-size. If it appears the same size, then the reproduction ratio is 1:1 life-size. This can be expressed also in terms of magnification, with a 1:1 equating to 1x life-size. All lenses have their maximum magnification listed among their specification and, with the exception of Canon’s MP-E 65mm macro (which provides a magnification of up to 5x), a reproduction ratio of 1:1 is standard among macro lenses. They can be divided typically into two types: 'short' and 'tele'. Generally, macro lenses with a focal length between 40-90mm are considered short. Physically, they tend to be compact and relatively lightweight, making them perfect for using handheld; ideal if speed and manoeuvrability are your biggest priorities. On the downside, they do not provide a large working distance, meaning you have to get quite close to smaller subjects in order to fill the frame. This is not really a major problem when shooting static subjects, but if you wish to shoot wildlife, it can be an issue. All major camera brands list macro lenses within their range, together with third-party manufacturers, such as Sigma and Tamron.
A tele-macro has a focal length upwards of 90mm, providing a more generous working distance. This is useful particularly for wildlife, as it helps minimise the risk of disturbing subjects. Due to their narrower angle of view, they appear to produce a shallower depth-of-field than shorter macro lenses, meaning that focusing has to be pin-point accurate when using one. They are also more weighty and costly, but are the best choice if you wish to shoot bugs and creepy crawlies. Although some tele-macro lenses boast 'Image Stabilising', focal lengths of 150mm or longer are designed chiefly for tripod use. Personally, my preference is for Sigma’s excellent 150mm f/2.8, APO Macro EX DG OS HSM. However, if you are new to macro, I recommend a shorter length; one in the region of 100mm is a great choice, and if you are using a digital SLR with APS-C size sensor, its effective focal length will be extended anyway thanks to the camera’s multiplication factor. It is worth noting that, due to their superb optics, macro lenses also are excellent everyday lenses. I use my 150mm regularly for scenic work, maybe to isolate objects within the landscape, such as a lone tree or building.
If you are a complete newcomer to shooting close-ups, a macro lens represents a big investment, which you may not want to commit to at this stage. Instead, you are better opting for a close-up attachment, offering a cheap introduction to the world of close-ups. I began by using close-up filters or diopters. They are circular, screw-in filters that attach to the front of a normal lens and act like a magnifier. By reducing the minimum focusing distance of the lens, its effective magnification is increased. They are available in different diameters and strengths, the most popular strengths being +2, +3 and +4; the higher the number, the greater the level of magnification. They are best combined with shorter focal lengths, a standard zoom, or 50mm prime, for example. They cost in the region of £10-20/$15-30 each, so are a low risk investment. As you might expect at that price, they are not without fault. They do degrade image quality to some degree, being prone to spherical and chromatic aberration due to their single element construction. However, they are still capable of perfectly acceptable results.
Auto extension tubes are another good close-up attachment. They have no optical elements, so using one has no effect on the image quality of the lens. They fit between the lens and camera body and work by extending the distance between the sensor/film and lens; thus reducing the minimum focusing distance. They offer good levels of magnification when combined with shorter focal lengths; a 50mm standard lens is a perfect choice. They are made in a variety of lengths, typically 12mm, 25mm and 36mm, and can be used singly or in combination to produce different levels of magnification. Auto tubes retain all the camera’s automatic functions, such as TTL metering. They cost in the region of £100/$160, but, again, working distances will be quite short, so be prepared to get close to subjects.
Whatever your budget, there is a lens or attachment that will allow you to shoot miniature subjects. The only other key items of kit you require for close-ups are things you are likely to own already or have in your kit bag. As you might expect, a tripod is essential when practical, offering stability and aiding composition. For close-ups, one with good low-level capabilities is best, for example, legs where the centre column can be positioned horizontally, or removed, to enable the tripod to be positioned close to the ground. A remote control or device is useful also for close-up work as, just as it is with scenic shots; maximising image sharpness is always a priority. Finally, a polariser can be useful for some close-up subjects. Although often considered a filter just suited to landscapes, its ability to reduce glare and reflections is beneficial when shooting foliage and flowers, helping to restore natural colour saturation.
Lighting
Light is a key ingredient to all photographs and close-ups are no different in that regard. As landscape photographers, we have no control over lighting; however well you plan or time your shoot you still need that element of luck to get the conditions you want. When shooting close-ups, photographers have a far greater degree of control. The light’s colour, contrast and direction naturally plays an important role in enhancing the appearance of miniature detail, but, when working in such close proximity to the subject, it is easier to manipulate light, using flash or reflectors. Personally, I favour reflected light.
While flash is useful for wildlife, when a fast shutter speed is a greater priority, for other subjects, bounced light generates more natural looking results. If you have not used a reflector before, they are basically circular disks, with either a white, silver or gold side, which can be positioned near to the subject in order to bounce light onto the subject. Small, foldaway versions are produced by the likes of Kood and Lastolite and cost less than £20/$35. Alternatively, a piece of card covered in tin foil, or a mirror, will do the same job. A reflector is an essential accessory for close-up photography, allowing you to control the light and its direction. You can alter the light’s intensity by moving the reflector closer or further away and, unlike flash, you can see the effect of what you are doing instantly and adjust the reflector’s position accordingly. By using one, it is possible to relieve dark, ugly shadows and to add extra illumination to small subjects in shady or overcast conditions: the difference they make to a close-up image can be startling.
One reason why they are so useful is due to the fact that light can be in short supply when working so near to the subject and can need supplementing. When shooting close-ups, it is often impossible to avoid your body or camera blocking the light and casting your subject into shade. Also, a degree of light is lost naturally or absorbed at higher magnifications. Therefore, choose scenarios ideally where the subject is lit from the side or back.
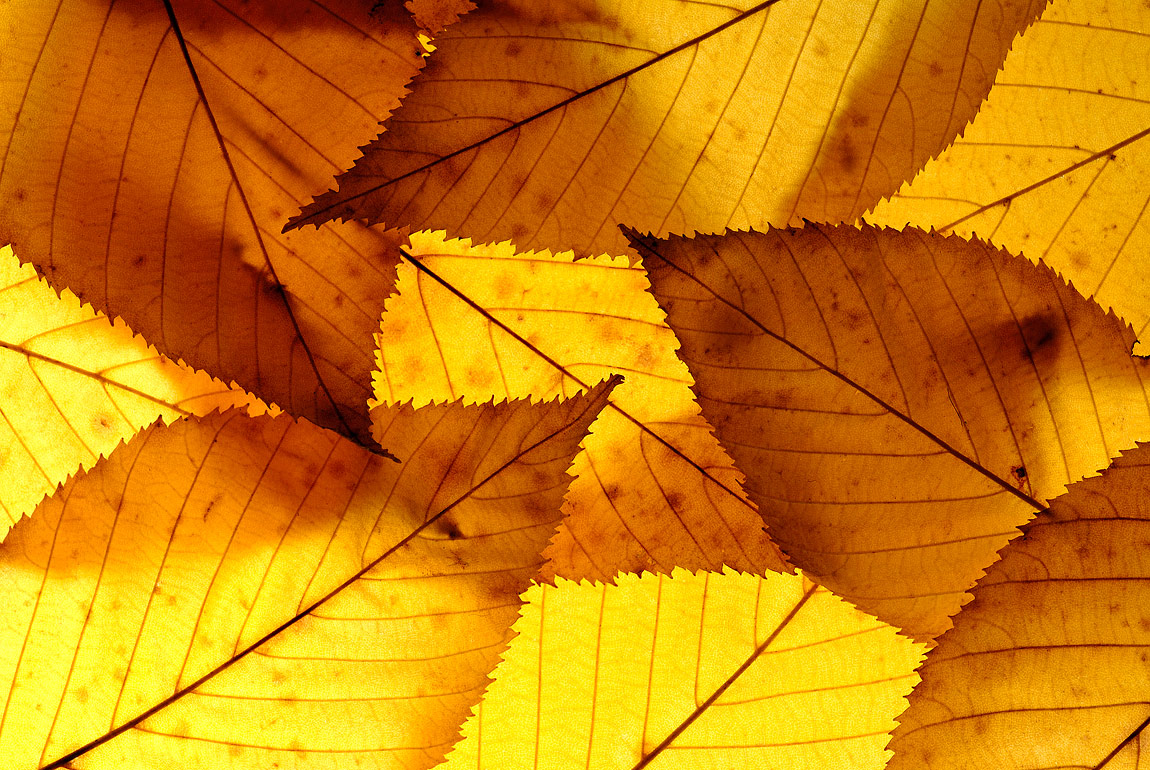
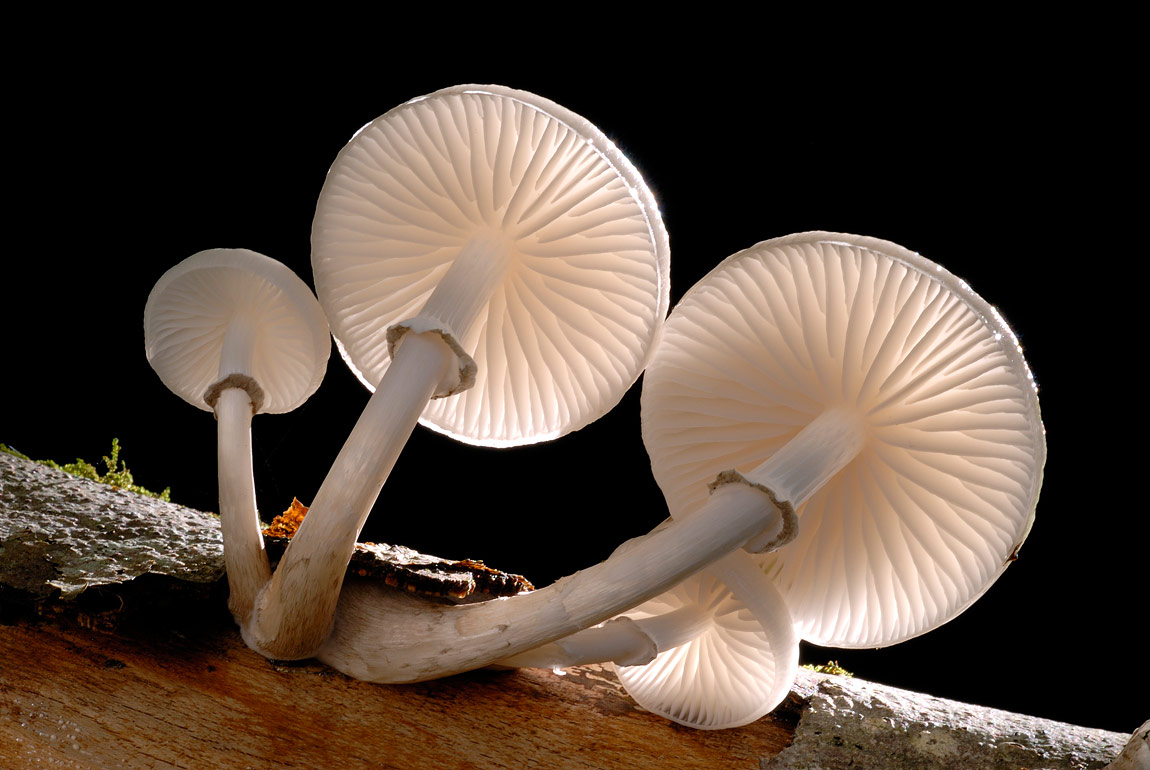
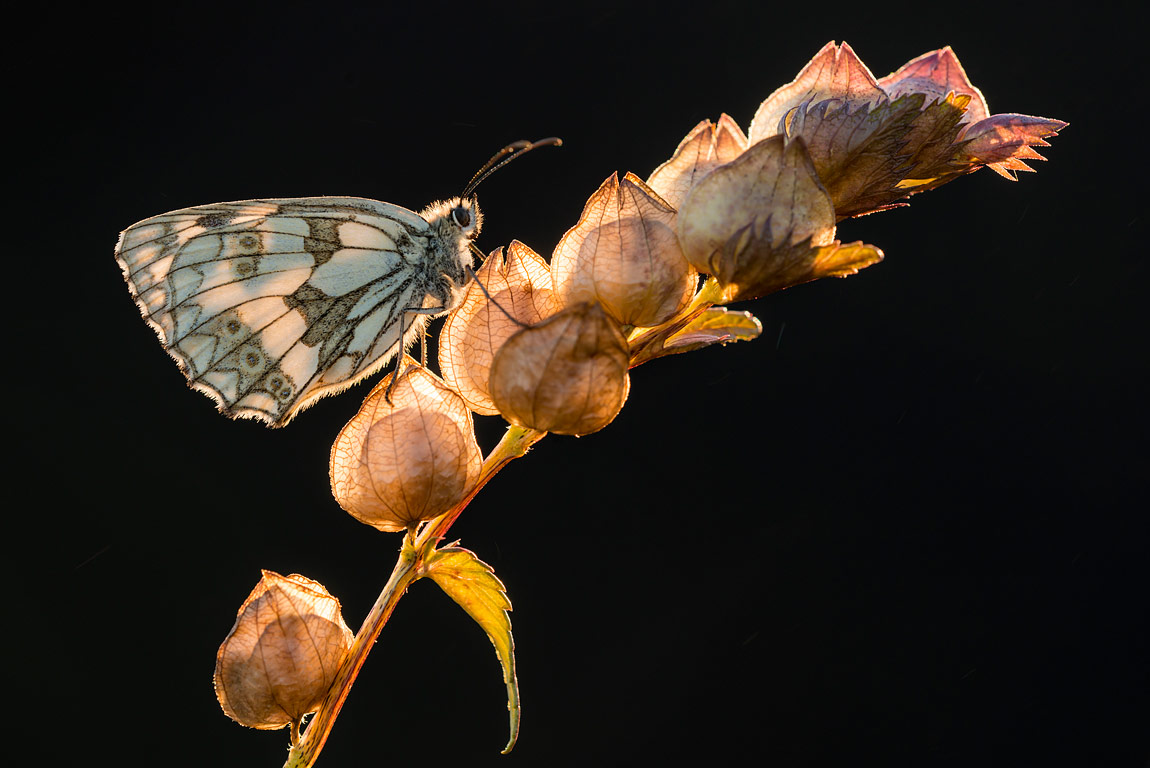
Side lighting is well suited to close-ups, enhancing surface texture and detail and giving images a more three-dimensional feel. Beware strong side-lighting, though; shadows can appear too exaggerated, resulting in too much contrast. Personally, backlighting is my favourite light source when shooting translucent subjects, such as butterflies, foliage or flowers. Backlighting highlights intricate detail, shape and form. It does have a habit of fooling TTL metering systems into underexposing results, though. Therefore, as always, keep an eye on the histogram and apply positive exposure compensation if required. It can be worthwhile attaching a lens hood too, as this will guard against flare.
Do not overlook dull, overcast light, either; strong directional light is not required to capture good images. Clouds act like giant diffusers, creating flattering, low-contrast light that enables close-up photographers to capture fine, intricate detail and record colour with greater accuracy. In fact, often I cast subjects into shade intentionally, using my body or a sheet of card, as this eliminates unwanted shadows and lower image contrast. It can be a useful trick, particularly when photographing flowers, fine detail or repetitive patterns during midday light.
Without doubt, one of the biggest advantages of working in close-up is the added control photographers have over their subject, their surroundings and lighting. All types of light can suit close-ups, so you are not restricted just to shooting within the golden hours of light.
Technique
Despite what first you might think, there are many similarities between shooting the 'big view' and the miniature world. For example, the general compositional guidelines apply just as readily to shooting close-ups as they do other subjects, and many of the best close-up images will conform to the rule of thirds in one respect or another; while employing negative space will help create a feeling of scale and size. As always, your aim should be to arrange the elements naturally within the viewfinder to create a feeling of balance and harmony. Simplicity is often the key to success; do not over-complicate things or include anything in the frame that does not benefit the final image. Background choice is important; keep things clean and uncluttered.
In terms of camera settings, probably you will need to make very few changes to your normal camera set-up. Exposure modes Aperture Priority or Manual are best suited to close-ups, as control over depth of field is your priority. Presuming your subject is static, keep your ISO set to its base sensitivity to maximize image quality. As with scenic photography, the precision and control offered by manual focus is normally best. AF can struggle to lock-on to nearby objects, particularly in low light or if the subject has a low contrast. When the autofocus 'hunts' to achieve focus, it can prove hugely frustrating, and time-wasting too, so focus manually. I rely on my camera’s multi-segment metering when shooting close-ups and, by reviewing my image’s histograms regularly, know when I need to apply either negative or positive compensation. When shooting static subjects with your camera on a tripod, push exposure (histogram) to the right in order to generate the highest quality Raw file for processing.
As you will notice, the general camera set-up and approach for shooting close-ups is identical almost to capturing scenic images; only if the subject is moving, or you are not using a support, will your set-up need to change vastly. However, while there might be many similarities between shooting landscapes and close-ups, there are a few major differences also.
When shooting at high magnifications, depth of field inherently is shallow and, at large apertures, can be wafer thin. Ordinarily, the zone of sharpness falls one-third in front of the point of focus and two-thirds beyond it, but, when shooting close-ups, this ratio changes. At high magnifications, the ratio falls more evenly, by being spread fairly equally either side of the point of focus. Therefore, hyperfocal focusing does not apply to close-up photography. While landscape photographers try to introduce the perception of depth to their images using a large depth of field and foreground interest, close-up photographers typically do the opposite, manipulating a shallow depth of field in order to isolate their subject against a diffused, out of focus backdrop. Doing so helps to highlight shape and form and makes their subject 'pop' from its background, effectively creating a three-dimensional look to images.
Often I select the largest possible aperture that will still keep my subject acceptably sharp. Using 'Live View', or your camera’s depth of field preview button, can be helpful to achieve just the right level of depth of field for the subject or situation. Maintaining a shallow depth of field will help reduce distracting or messy background detail to an attractive haze of colour. However, when utilising such a narrow depth of field, focusing needs to be pin-point accurate. 'Live View' is a wonderful focusing aid for close-up photography, allowing you to zoom into small, specific areas of the frame to check and fine-tune focusing. No other technique allows you to place your point of focus with such accuracy.
With depth-of-field being so shallow, it is important you do not waste the zone of sharpness through poor camera positioning. To maximise the depth-of-field available at any given aperture, keep your camera’s sensor/film plane parallel to the subject. This is important because there is only one geometrical plane of complete sharpness, so you want to keep as much as possible of the subject within this zone. That said, there may be times when you wish to do the complete opposite. For a more abstract look, deliberately align the plane of sharpest focus so that it is perpendicular to your subject’s surface. Doing so will highlight very specific areas or detail, and create very arty looking results.
While a shallow depth-of-field works well for some subjects, it is not suited to all. When you want the whole of your subject rendered sharply, extend depth-of-field by selecting a smaller aperture, for example, f/11 - f/16. At high levels of magnification, this still will not generate a particularly generous depth-of-field, so you will still need to focus and position your camera carefully. However, ideally, avoid selecting the smallest f/numbers on your lens, as image quality tends to soften due to the effects of diffraction.
Subjects
With any genre of photography, the key is being able to 'see' the image in the first place. When you are more accustomed to looking at the larger view, it can take a while to adapt to looking for miniature detail, interest and subjects that will translate successfully into an image. While the picture potential of some subjects, such as butterflies, colourful flowers and glistening water droplets might be obvious, others will be less so.
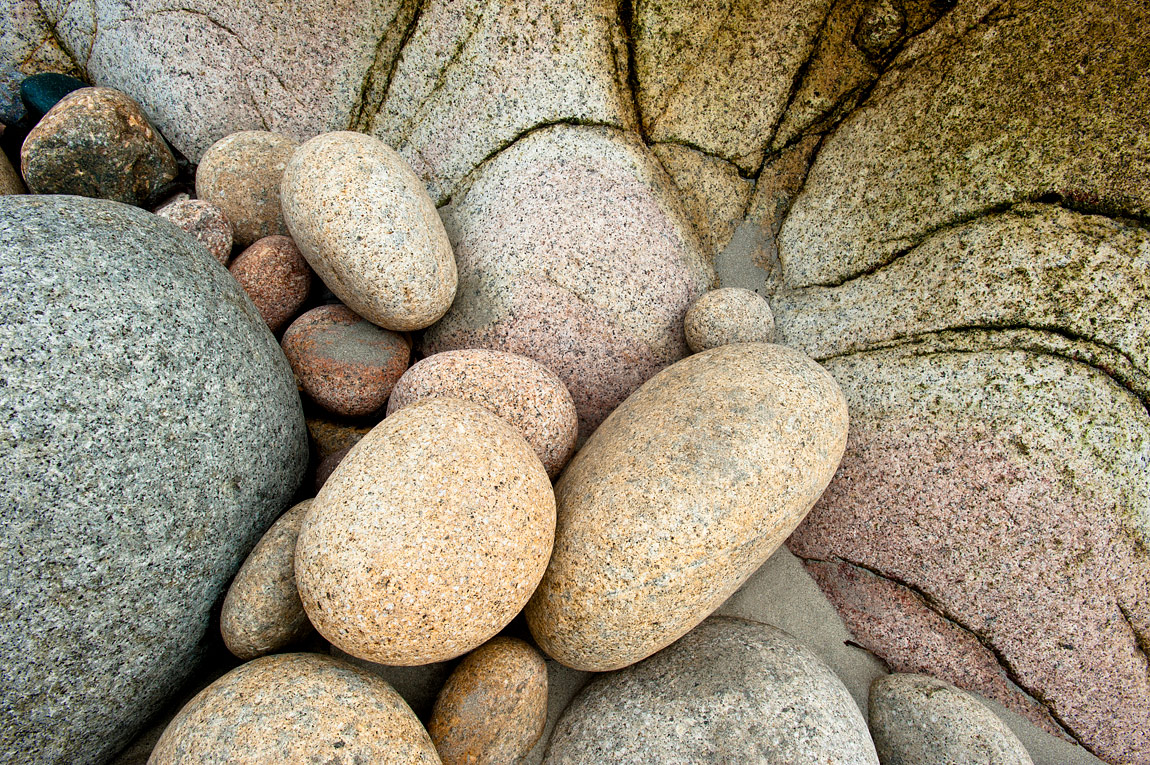
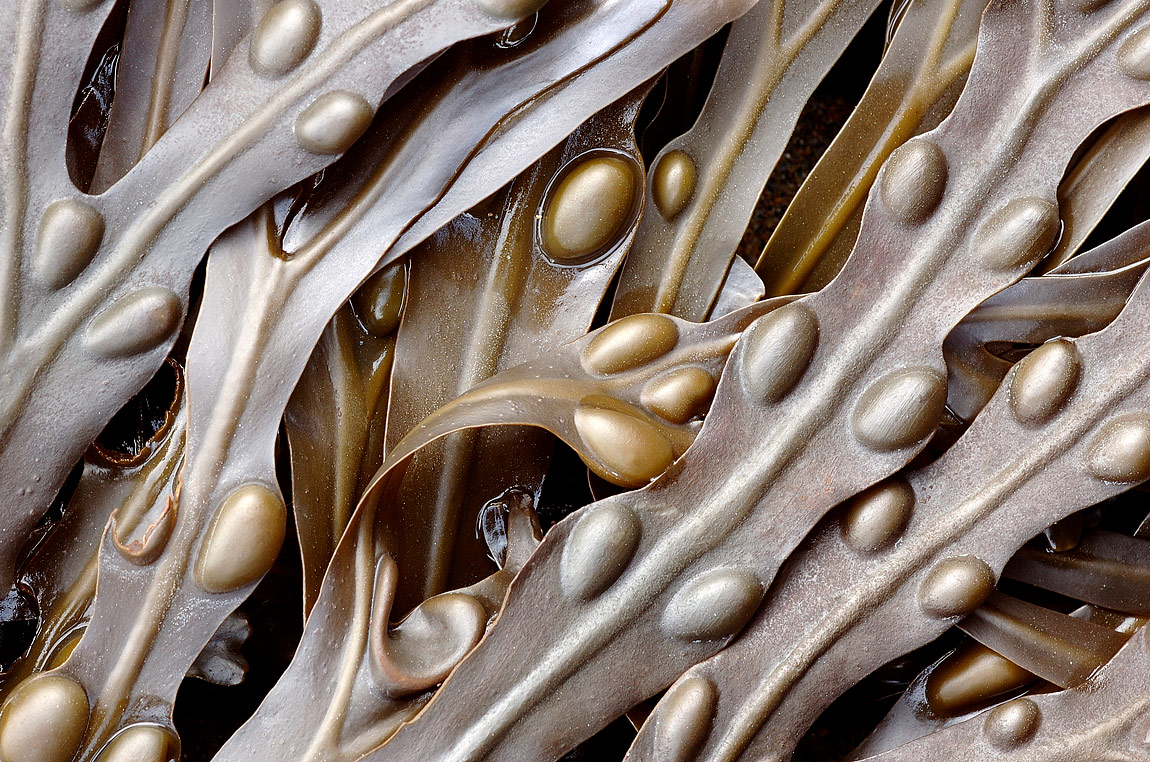
Decay can be strangely photogenic in close-up; the peeling paintwork found on a beach hut or fishing boat, for example, and rusty chains or machinery. Harbours can be a great source of subjects; the texture of thick, curled-up ropes, fishermen’s nets and discarded shells is revealed in close-up. Living close to the north Cornish coast in England, I love photographing beach detail; wavy patterns in the sand, seaweed and interesting geology and rocks, shaped by the sea, are subjects that lend themselves to being shot in isolation. Abstract and arty images of pebbles on the beach are possible by selecting your subject carefully and employing a shallow depth of field and selective focus.
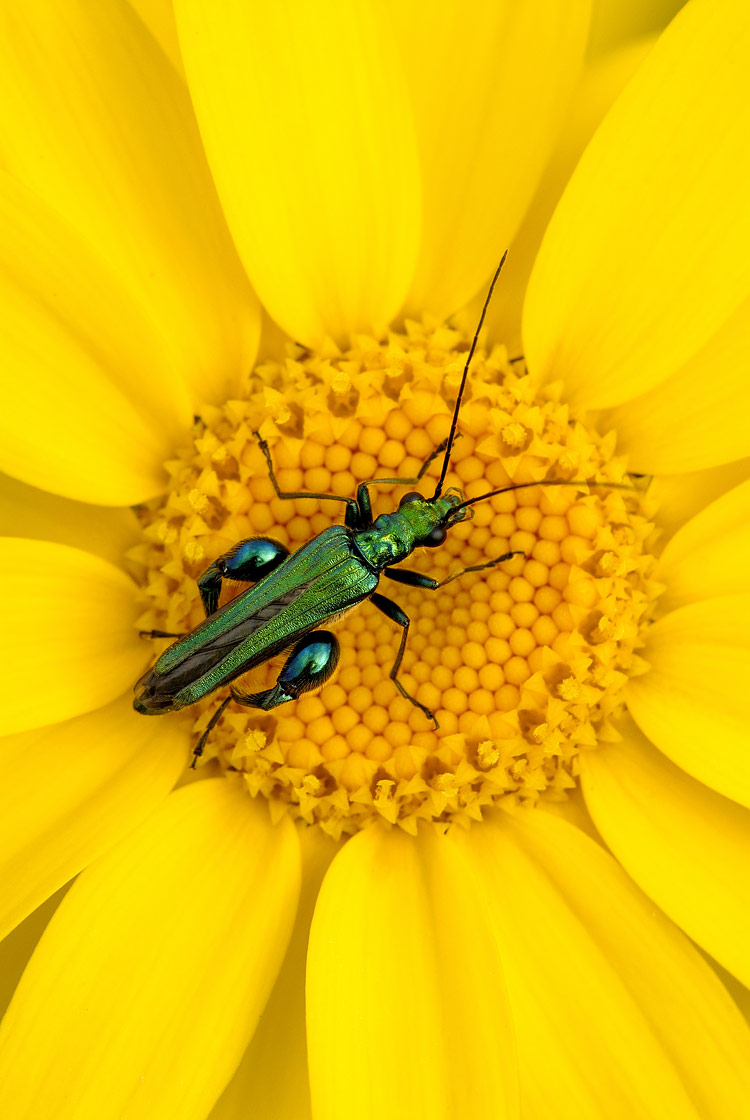
During spring and summer, cliff tops and the countryside are buzzing with insect life. While insect photography can be challenging, the results can look extraordinary, with a close approach revealing the alien-like appearance of bugs and mini-beasts. Woodland and forests are home to all manner of close-up subjects.
In spring, wild flowers are an obvious subject, but lichens and moss can prove just as photogenic. During autumn, colourful foliage, fungi and nature’s fruits all provide great subject matter for your macro lens or close-up attachment.
Many of the miniature subjects most suited to close-up photography are common and found easily within the landscape we so enjoy shooting. Rather than representing an alternative to photographing vistas, close-up photography actually complements the genre perfectly. Therefore, when you are next waiting for the light, tide or conditions to be right, try swapping your wide-angle lens briefly for a close-up attachment and set your sights on capturing the miniature world beneath your feet. Hopefully my introduction to shooting close-ups will help to get you started.
 Create your Personal Portfolio Page and let us share your published pictures with over 300,000 members and followers.
Dimitri Vasileiou • Editor
Benefits of VIP membership:
• Download all new issues of Landscape Photography Magazine
• Download all back issues of Landscape Photography Magazine
• Download all new issues of Wild Planet Photo Magazine
• Download all back issues of Wild Planet Photo Magazine
• Download premium eBooks worth £19.45.
• Create your Personal Portfolio Page – click here to see sample
• Your pictures stay attached to your Personal Portfolio Page forever
• We promote your uploaded pictures to over 300,000 members and followers
• Submission Priority – your submission goes to the front of the queue
• Fast Support – we aim to reply within 12 hours


