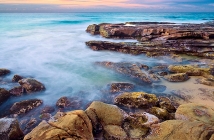
Having grown up and spent my early photographic years in the most central part possible of England, visiting and photographing the coast was a rarity. I would relish any chance I got to photograph seascapes. A move down under to Queensland’s Sunshine Coast gave me countless more opportunities for coastal photography thereby developing my ever-growing passion for capturing seascapes.
How do you begin to capture the possibilities seascape photography has to offer?
Research is the starting point. The more information you find for a location the more productive the shoot will be. Through the internet and smartphone apps you can find the times and heights of the tides and what time and exactly where the sun rises and sets.
All tides will have something to offer, but receding tides are generally the most productive, cleaning the sand, tracing/depositing interesting patterns and leaving rocks wet which are always more desirable than dry rocks. I have been known to scoop water on to dry rocks with my hands; this only works if a small area of dry rocks encroach into your scene - remember to dry your hands before handling your gear.
Google Earth is a useful tool; it can give you an idea of what you may expect to find. You can work out for example which direction the sun will shine across a bay or where there may be points of interest such as rocky outcrops.
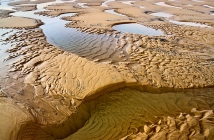
Always keep your eyes open and look for the unexpected and seemingly uninteresting subject matter. Something as simple as patterns in the sand that most people would walk past could be perfect foreground for a shot. As well of course as the better known and obvious shoreline subjects such as rocks, rock pools, surf, vegetation and even something as interesting as a shipwreck.
Be careful where you tread when you are walking on the sand, especially when you find a scene of interest. The last thing you want in your final image is a footprint or disturbed sand.
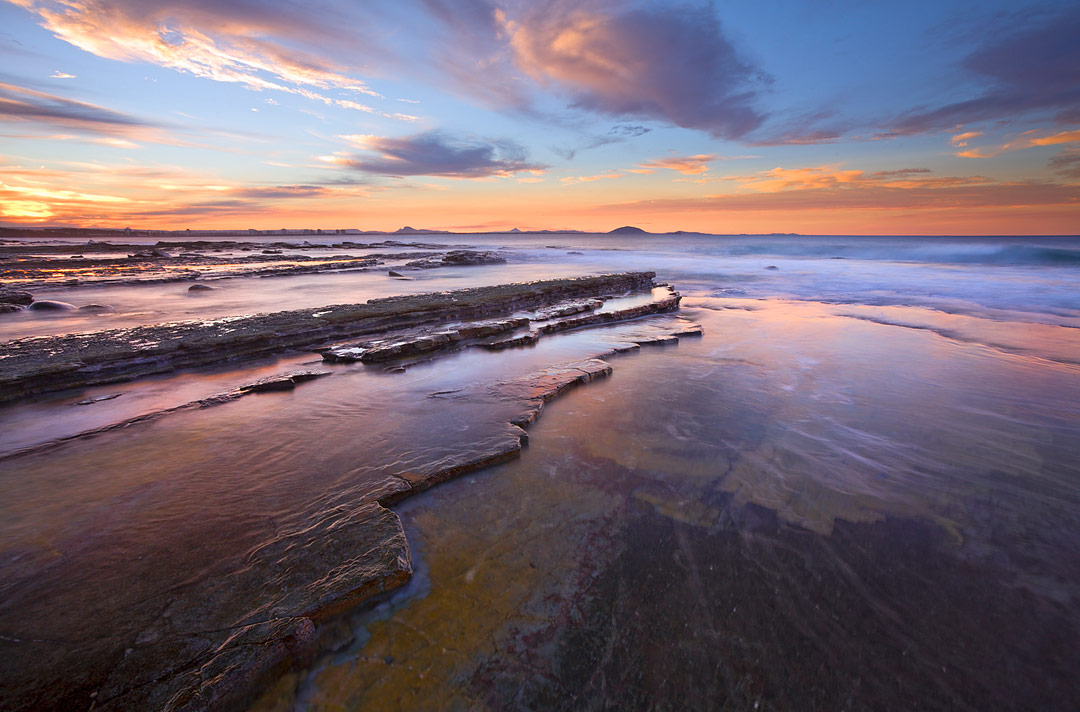
Shooting in the first or last light of the day is essential to utilize the quality low light. Remember to set the alarm at least an extra half an hour earlier than you think. A lot of action in the sky happens pre sunrise with some wonderful twilight colours that can also be perfect to use in your foreground reflections, maybe off wet rocks, in a rockpool or in the surf itself.
There is always the pressure of time as light is transient. It is a good idea to give yourself as much time as possible to look for your compositions. Ideally, visit your location the day before and scout out ideas and even shoot them with a ‘point and shoot’ or your phone to find some compositions that work for you.
As far as composition goes, a novice can’t go far wrong with using the rule of thirds; this will improve your images greatly and give them some balance. If the sky holds the greatest interest then place your horizon showing two thirds of the sky; if the foreground is more interesting then show two thirds of that. Avoid wonky horizons by investing in a cheap bubble level for your camera’s hot shoe.
Use a wide angle lens, get in close and make a bold composition. Find a balanced view by moving left and right, sometimes only a few inches, can make a huge difference. Getting down low can also change the perspective. Look for leading lines that guide the viewer’s eye through the scene towards the focal point of the image. Keep your compositions clean by omitting any unnecessary clutter, if something doesn’t deserve to be in the final image it shouldn’t be in the final image.
Don’t be afraid to follow in other photographers’ footsteps; there is nothing wrong with taking a similar image and learning from it, but ultimately you will want to make your own compositions.
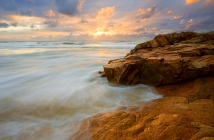
I like to use long exposures to capture the movement of the tide lapping the shoreline; this is not to everyone’s taste but this is your chance to be creative and make some art. A Neutral Density filter or even a polarizer is useful as they can help control the amount of light entering the lens, lengthening the shutter speed thus producing more blur of any water movement. For this you will need your camera mounted on a firm tripod. If you are standing in the surf on a sandy beach, the tide will wash around the tripod legs and it will gradually sink, probably right in the middle of that awesome shot. I find by pushing the tripod legs down into the sand it will help stabilize your tripod. To avoid any further camera movement when pressing the shutter button, use a remote. If you don’t have one then set your drive mode to the two second timer. After clicking the shutter I always have my hands around the camera, obviously without touching it, ready to rescue my gear if the surf tries to catch me out.
To preserve the life of your tripod always wash the salt off at the end of your shoot.
Start by setting your ISO to its lowest to keep the quality of your final image file high. Use a small aperture to maintain a large depth of field (keeping foreground and distance in focus). Don’t go past f16 as this generally introduces diffraction in most lenses, where you are pushing your lens past its optimum quality. Only use a smaller aperture if you feel you need to. Focus a third of the way into the scene; this is a primitive way of focusing but with an aperture of f16 you can’t go far wrong. If your camera is equipped with a DOF preview button then make use of it. Alternatively for a more precise method, look up how to use the hyperfocal distance for your camera and lens.
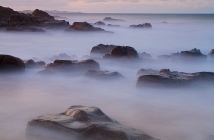
Take many exposures, working quickly as that low light doesn’t hang around. Experiment with different shutter speeds by either changing ISO or aperture, which can give quite different effects. Use long exposures to create streaks by capturing the tide as it races back towards the sea, look for swirls around rocks, turn calm water into a silky texture or blur the water into a mist with a longer exposure. The best way to visualise what the water movement will produce in an image is to practise, experiment and evaluate your results.
A polarizer is a must. While not needed on every shot it is something a landscape photographer shouldn’t be without. For seascapes it is especially useful; it can take glare off rocks allowing you to capture the full detail, saturate colours and add contrast to a cloudy sky. It can also produce an ugly uneven effect on a mainly clear blue sky when using a wide angle lens. For this I would take an unpolarised shot of the sky and a polarised shot of the foreground and blend in photoshop later on.
A dramatic sky full of interesting clouds is always to be preferred and can complement the foreground giving visual harmony to the image.
Neutral Density graduated filters are needed to balance the exposure between foreground and sky. In recent years I’ve felt freer not using them, instead taking two or more exposures and manually blending them in Photoshop. This is a personal choice and at first I wasn’t completely comfortable about the blending method but as long as the exposures are taken straight after one another I can sleep easily. Whichever method you use, it is a necessary part of landscape photography to capture the full range of contrasting tones within your scene.
Coastal rocks can be extremely slippery and great care needs to be taken. If you are unsure don’t venture any further and find something else to photograph. A photo is not worth getting injured for. Always keep an eye on the surf; just when you become complacent there could be a rogue wave to drench you and your gear, and maybe worse, knock you off your feet. Beware of fast moving tides that can leave you stranded. Remember to take a spare set of clothing if like me you end up venturing into the surf, sometimes to waist height. Don’t be afraid to get wet, venturing safely into the surf can yield great results and can be the difference between getting that killer shot or not.
Experiment, learn from your mistakes and enjoy everything the coast has to offer.


